Project eavestrough
Checkmark
Eavestroughs
Checkmark
Leaf Guard

ISSUES:

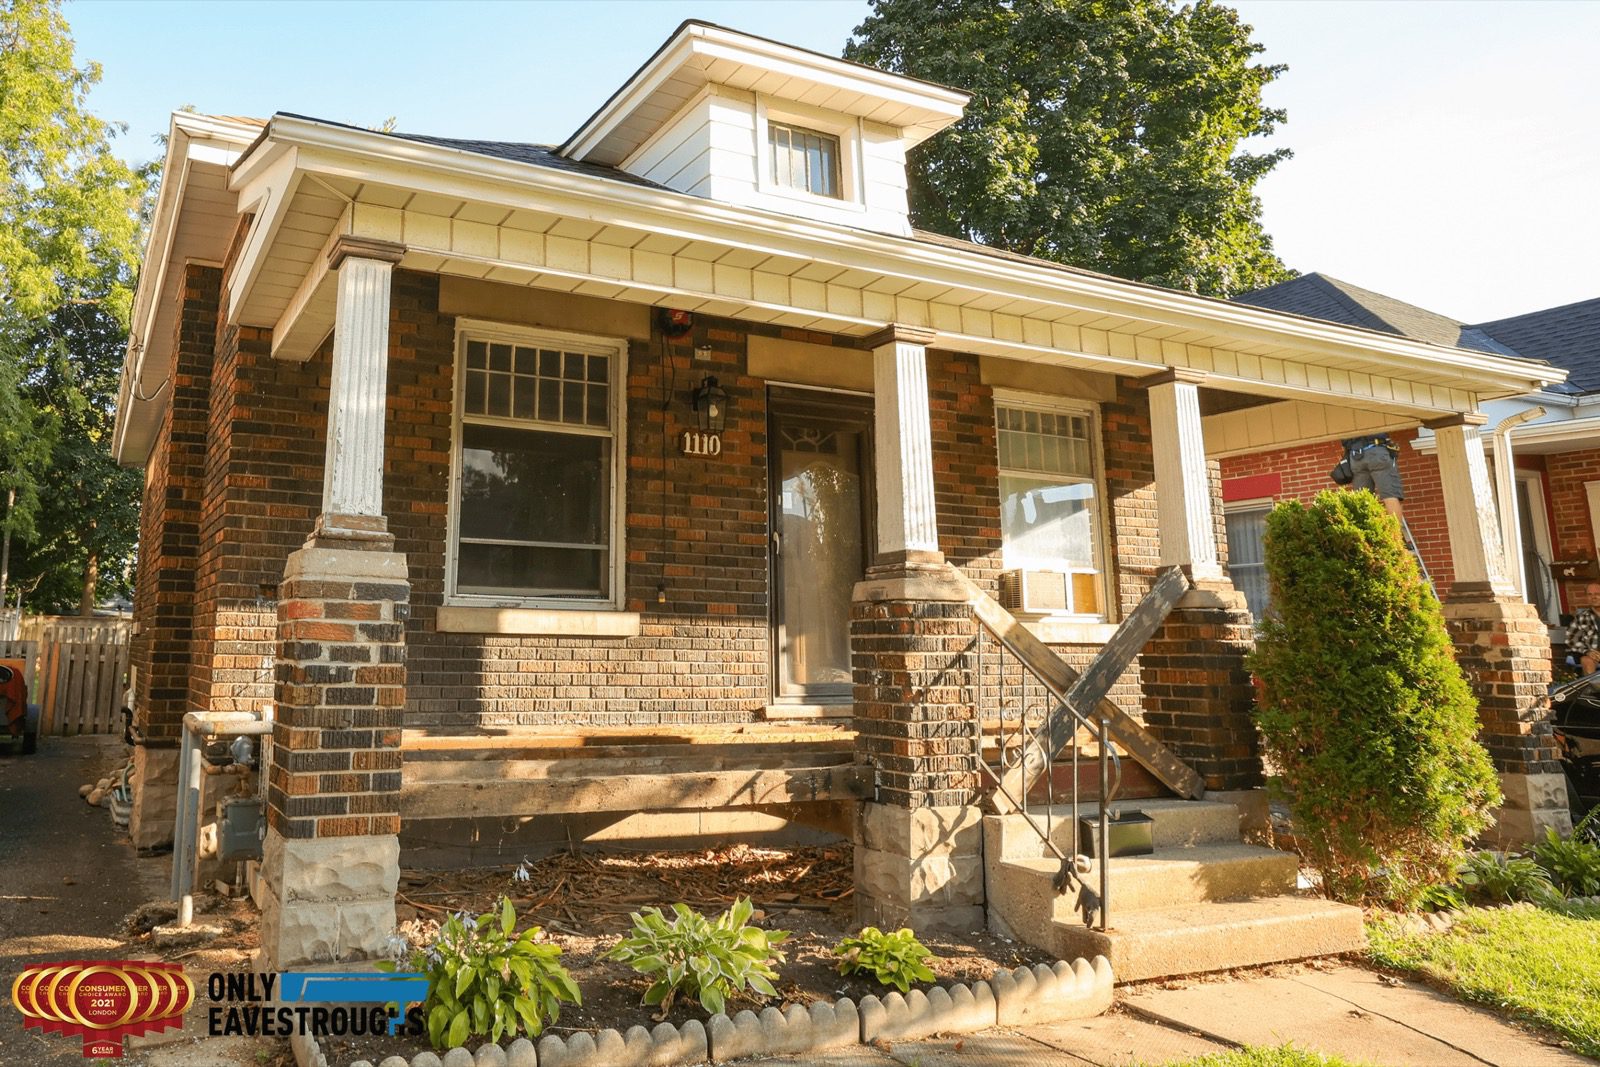
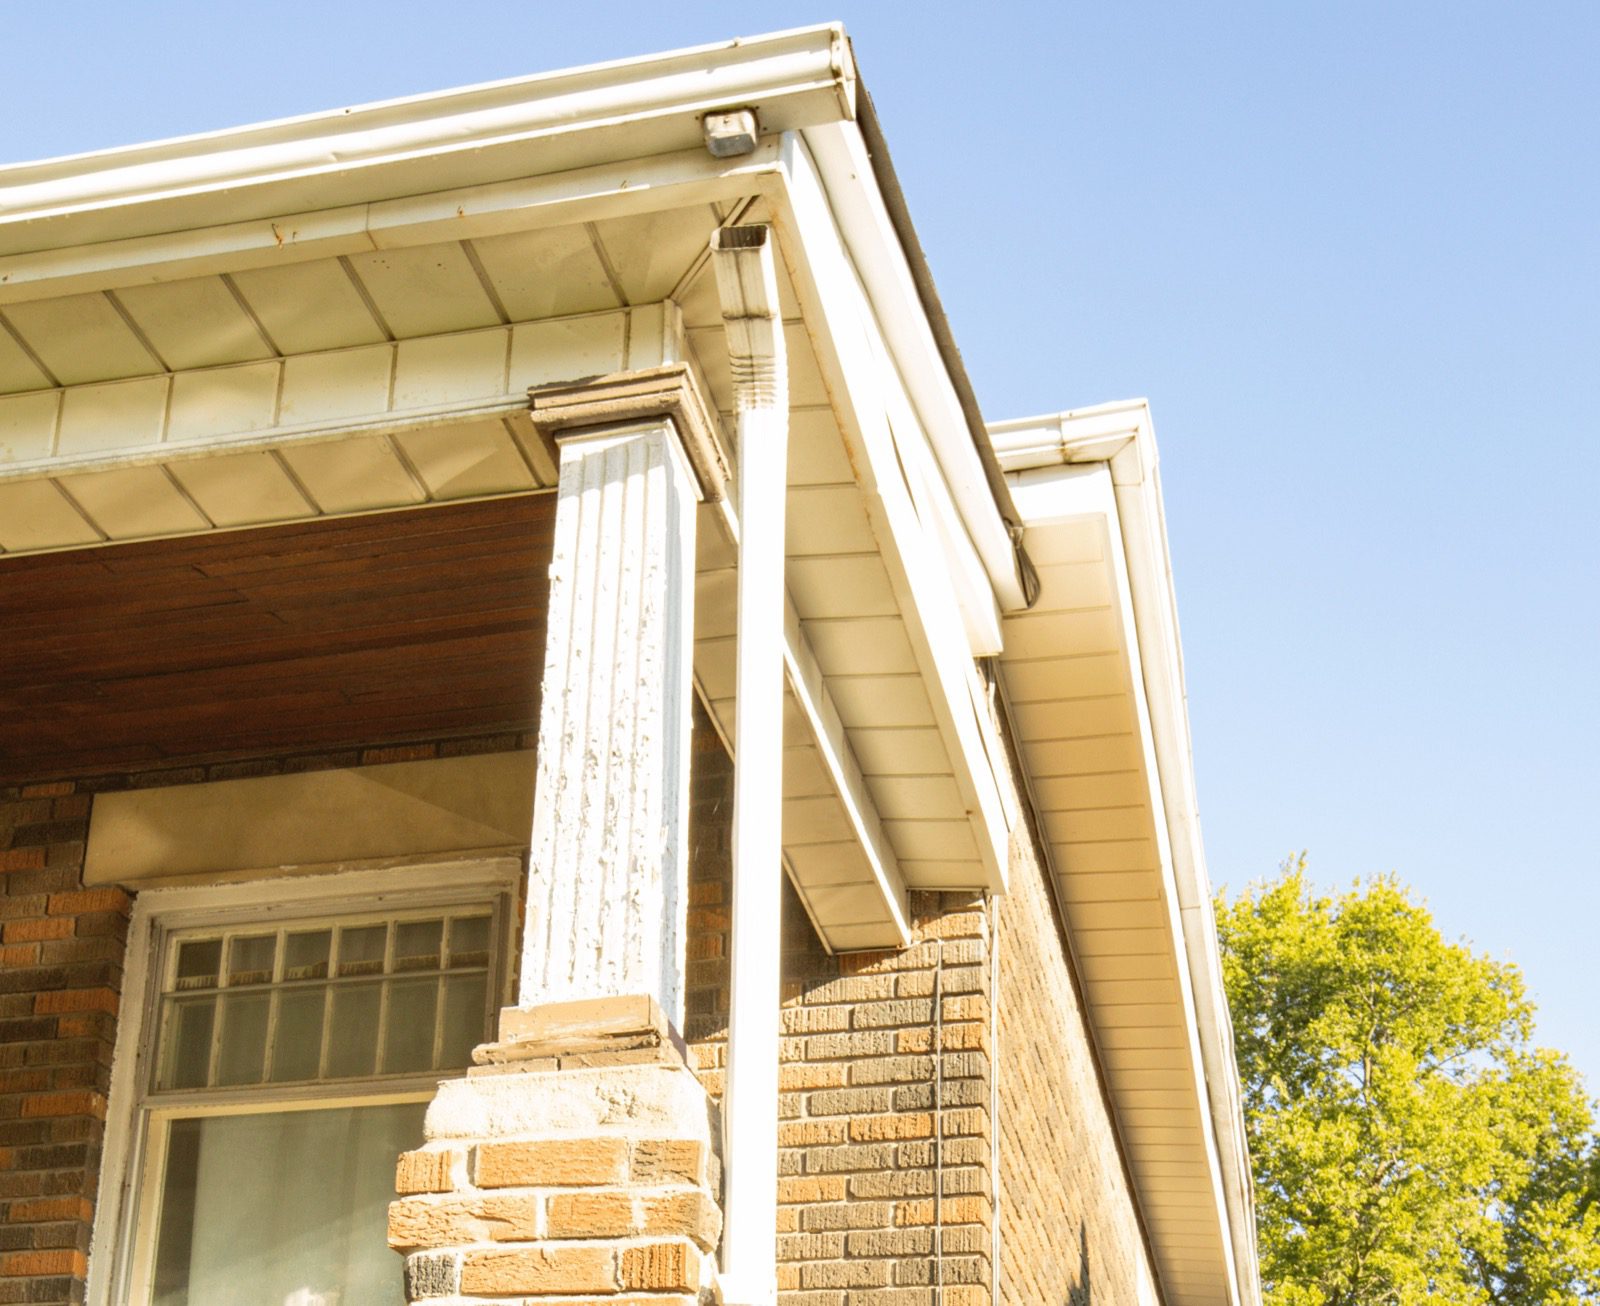
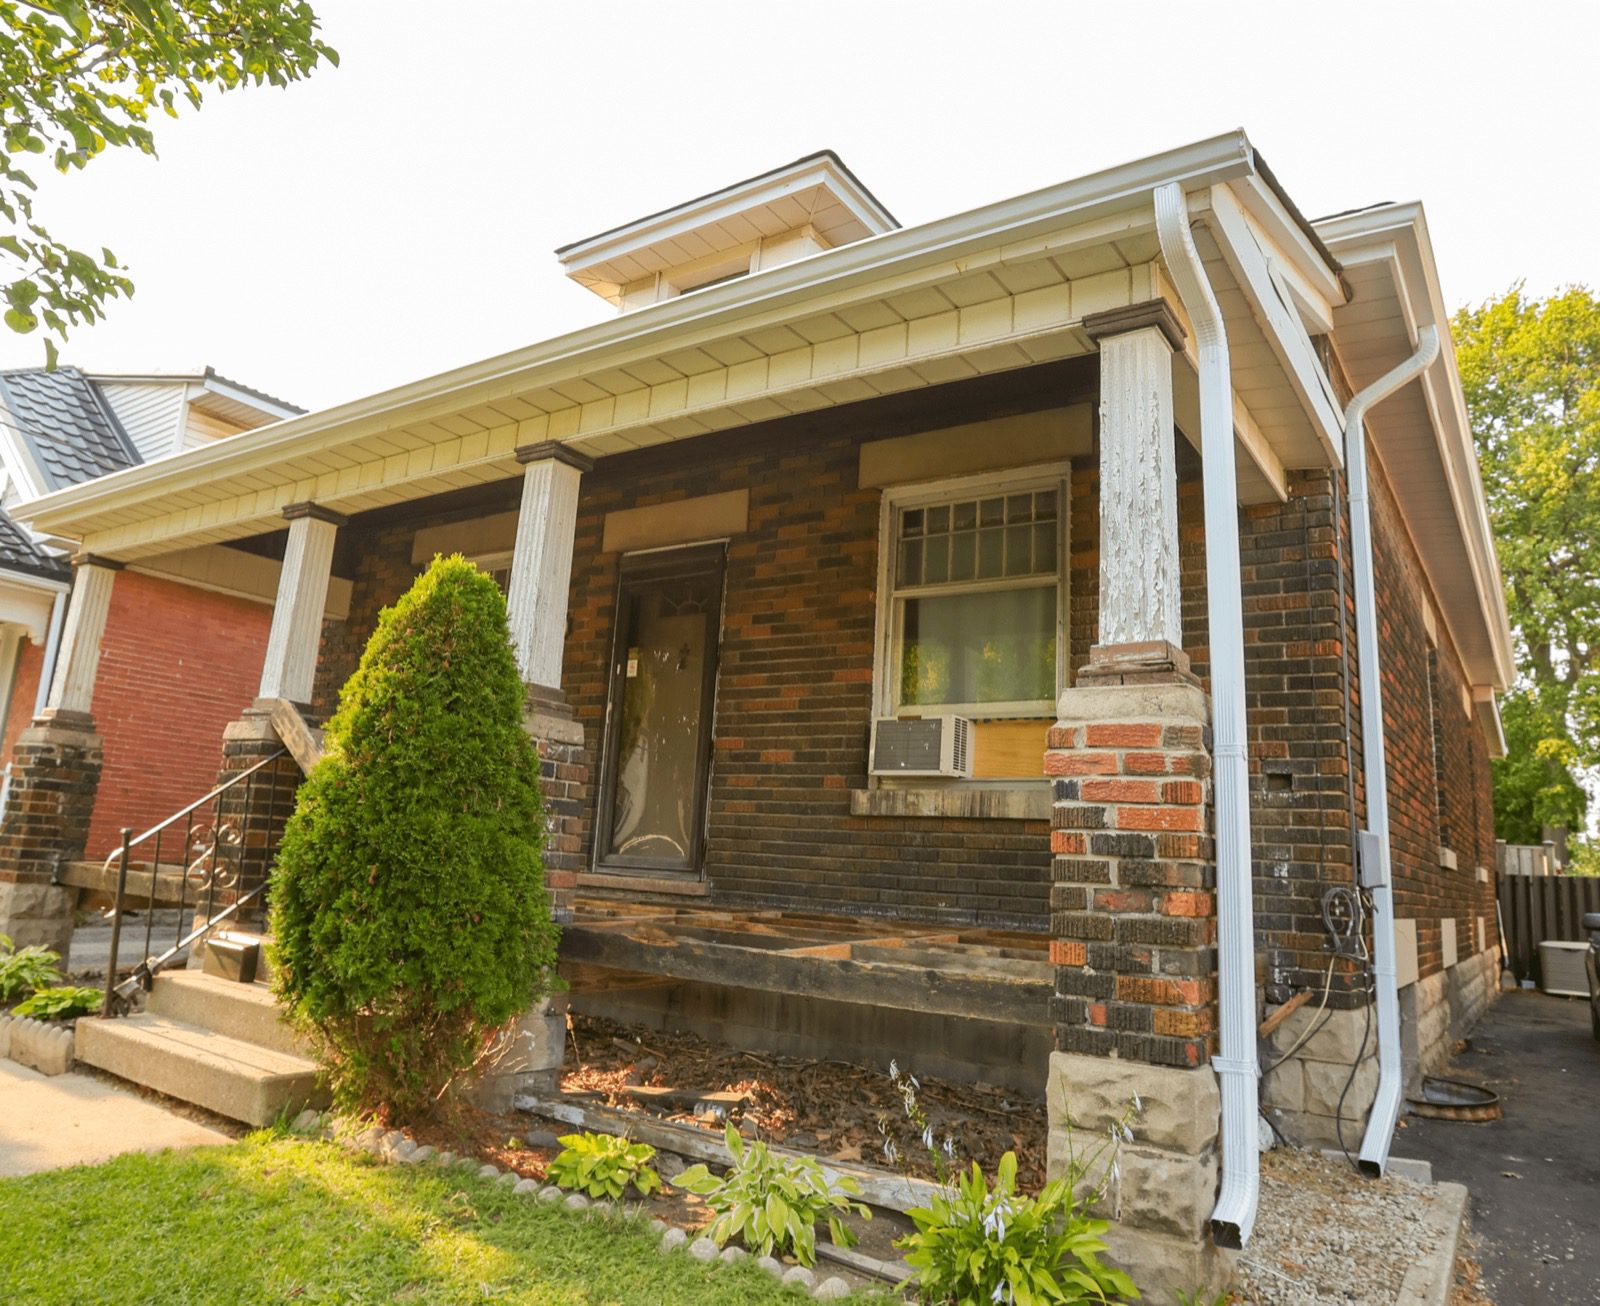
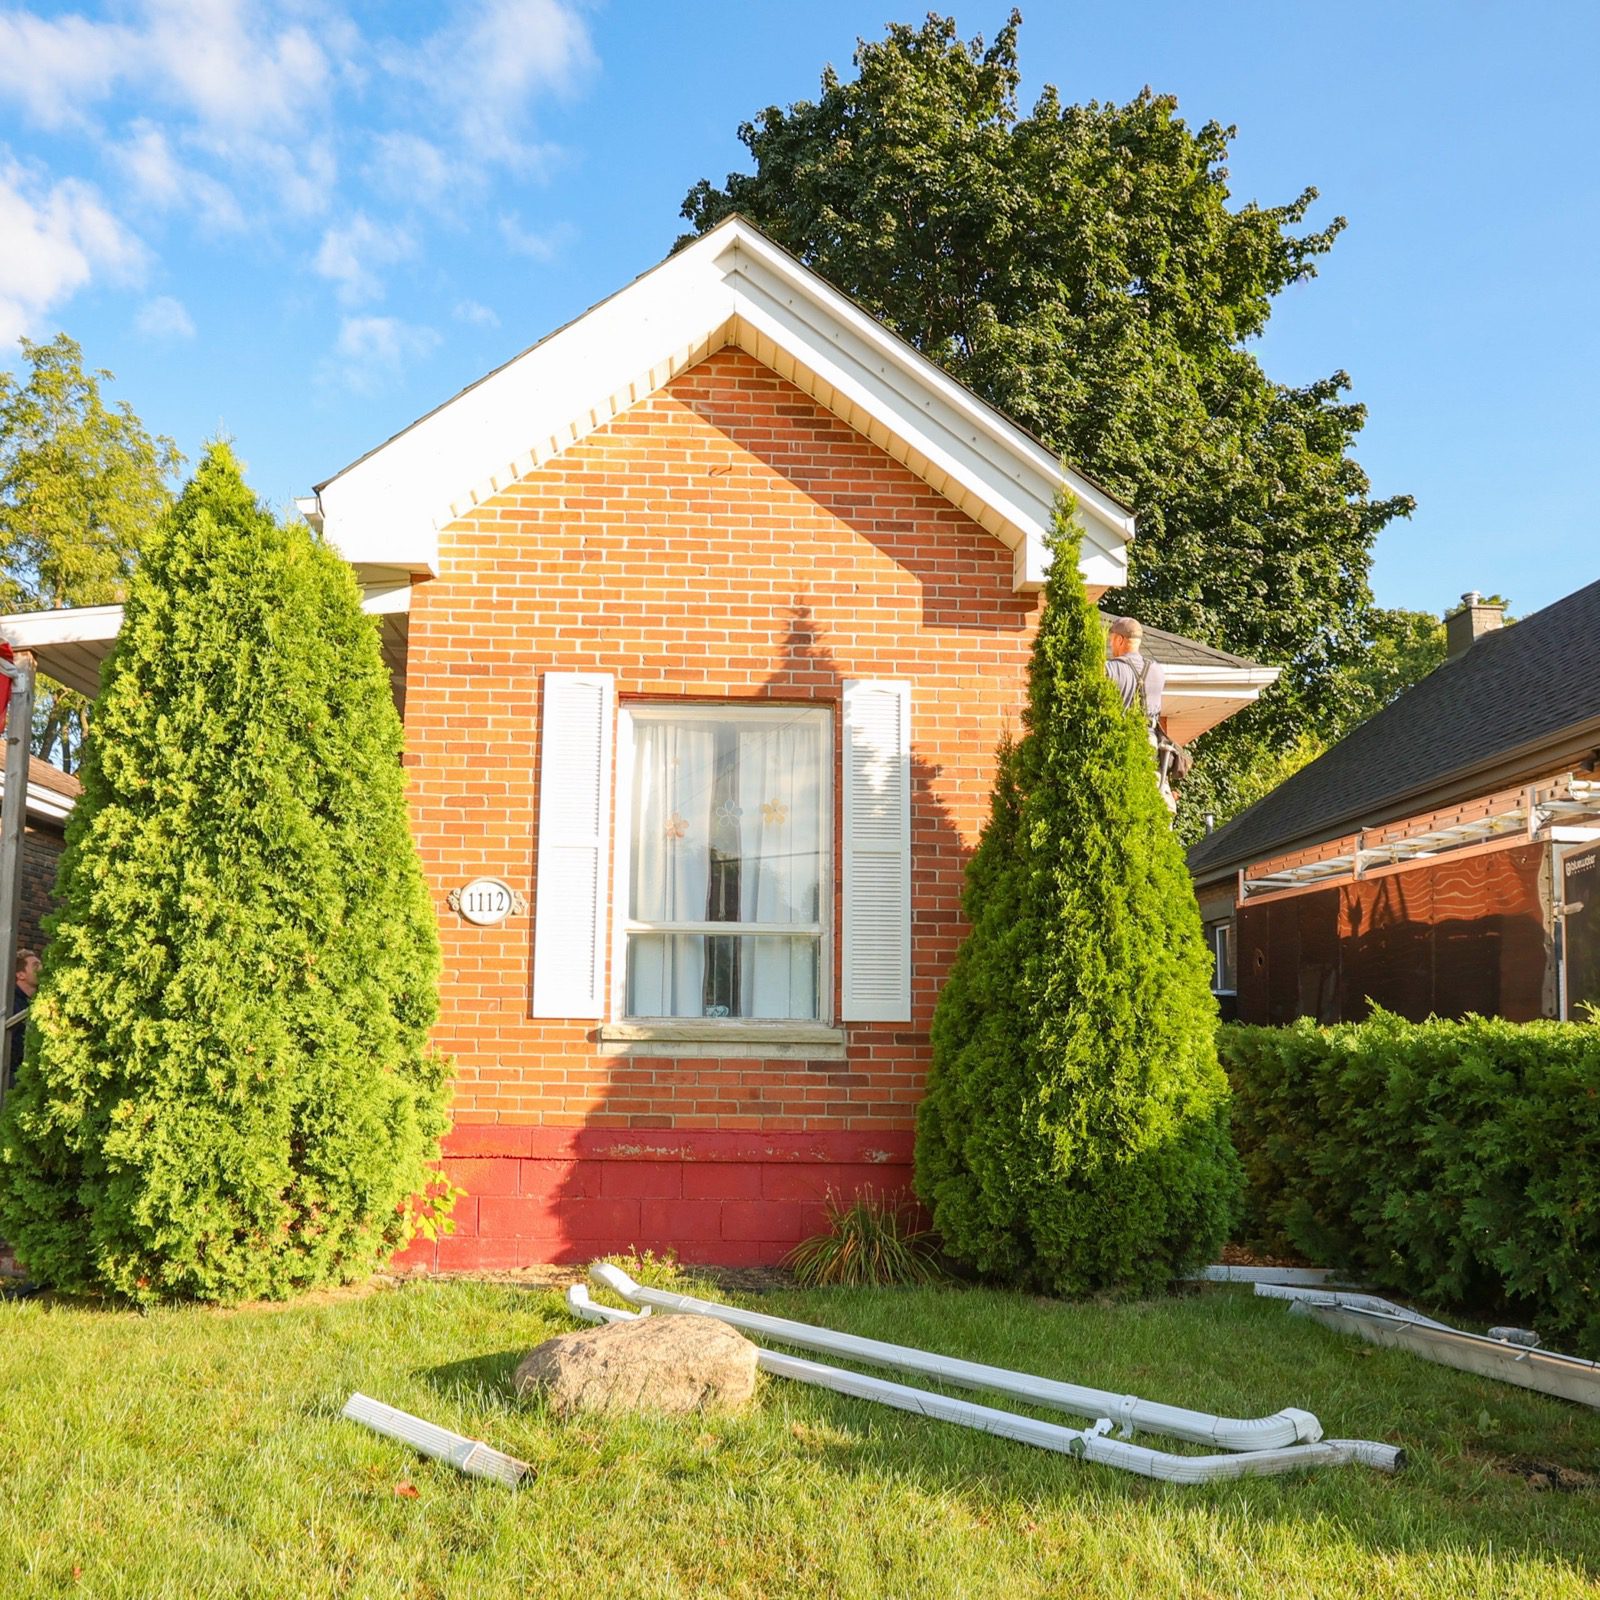
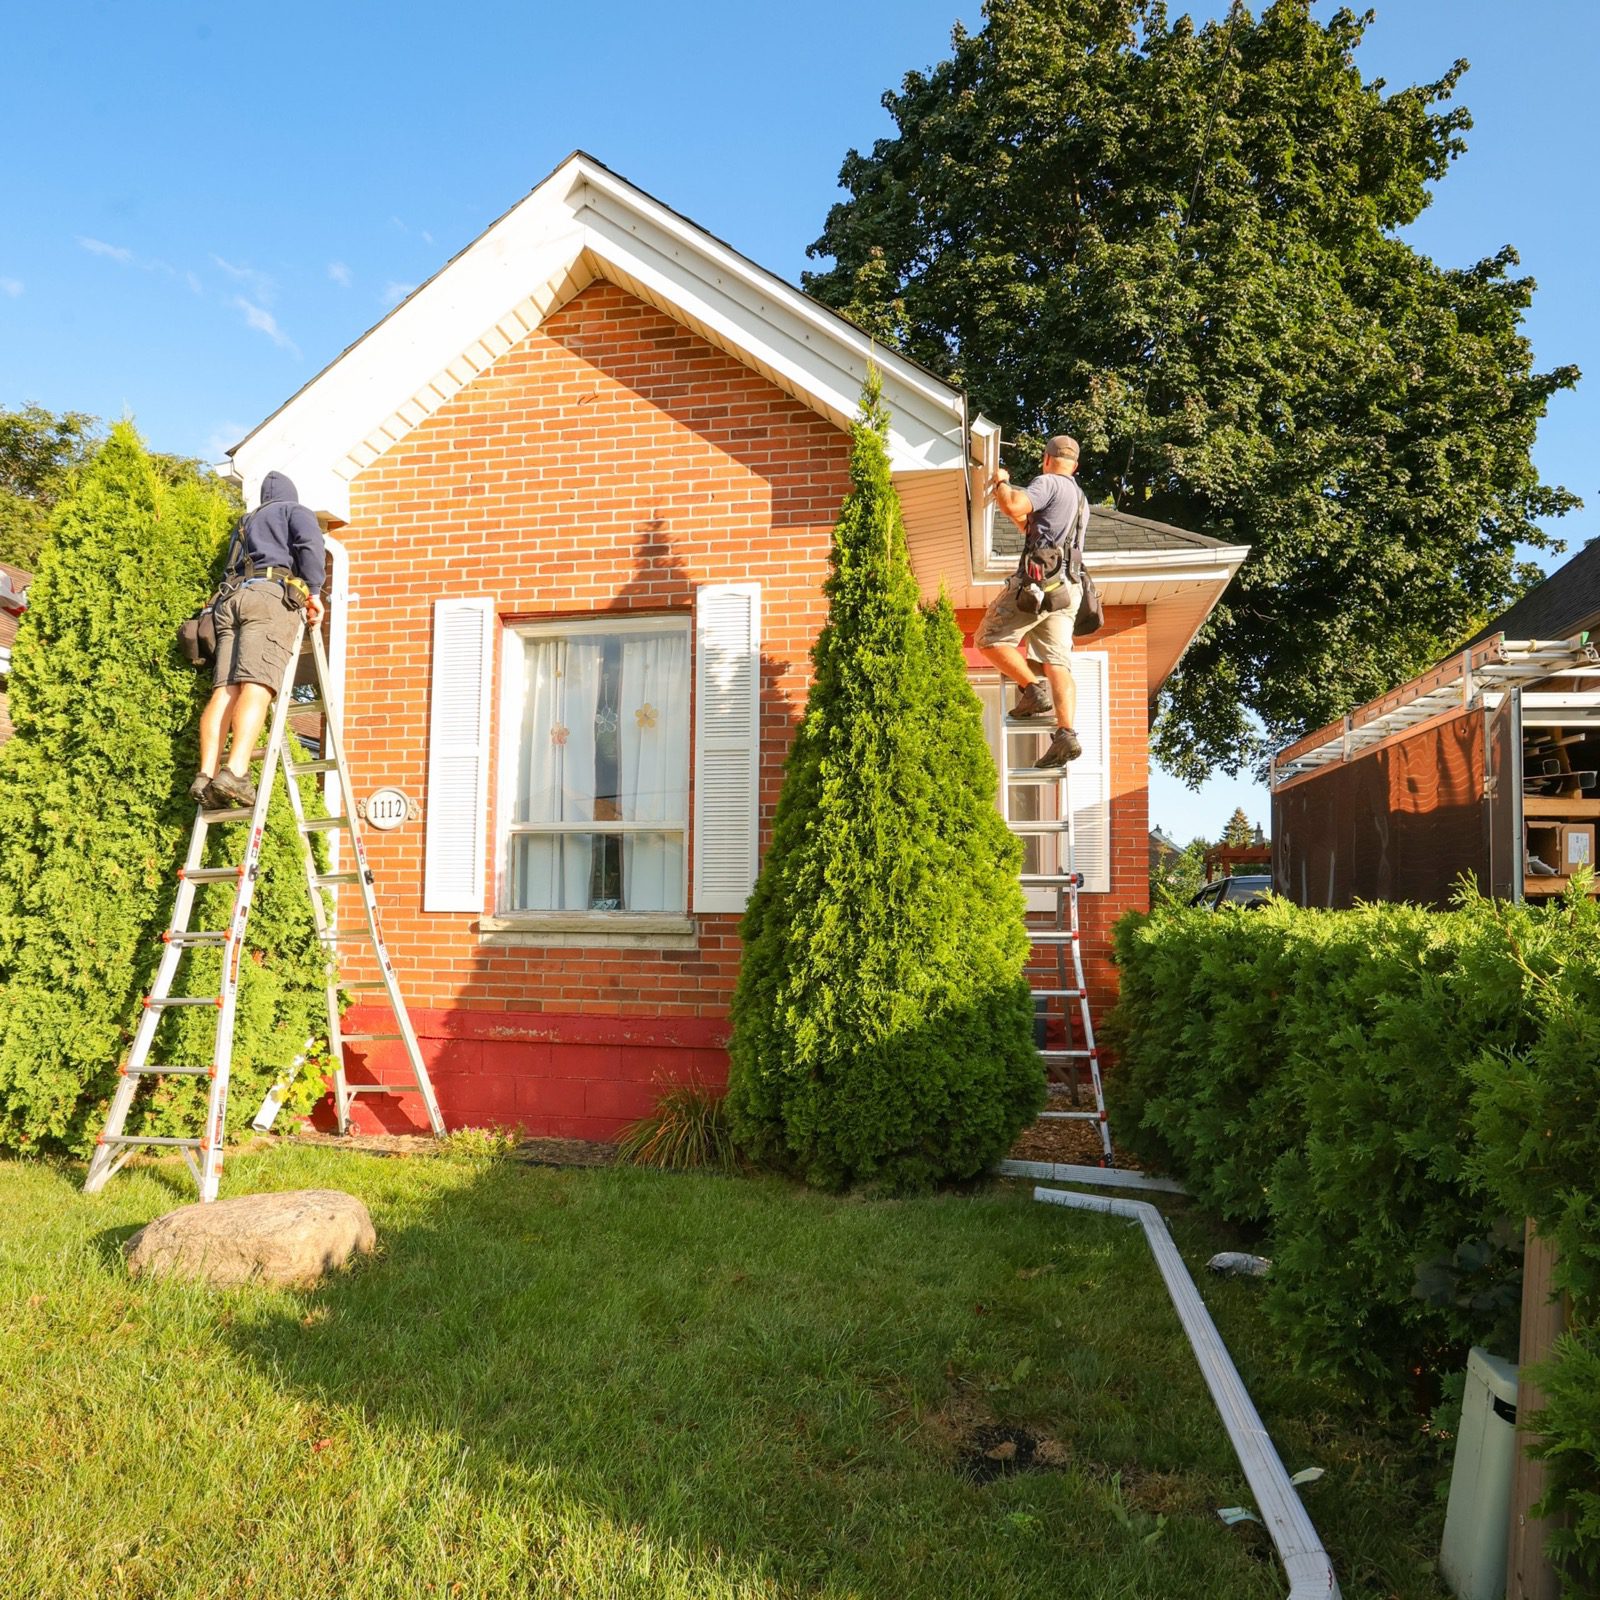
  • Existing eavestrough and downspout drainage system installed 40 years ago
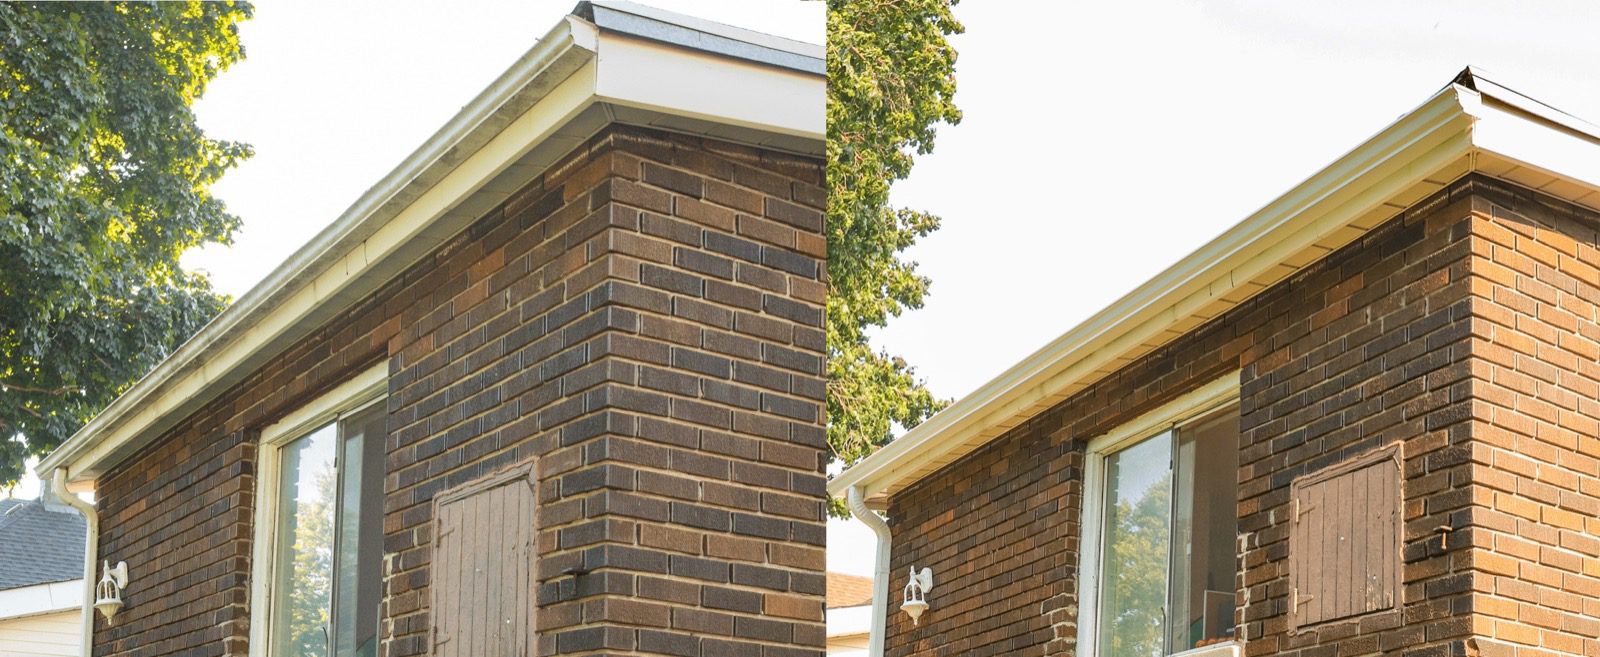
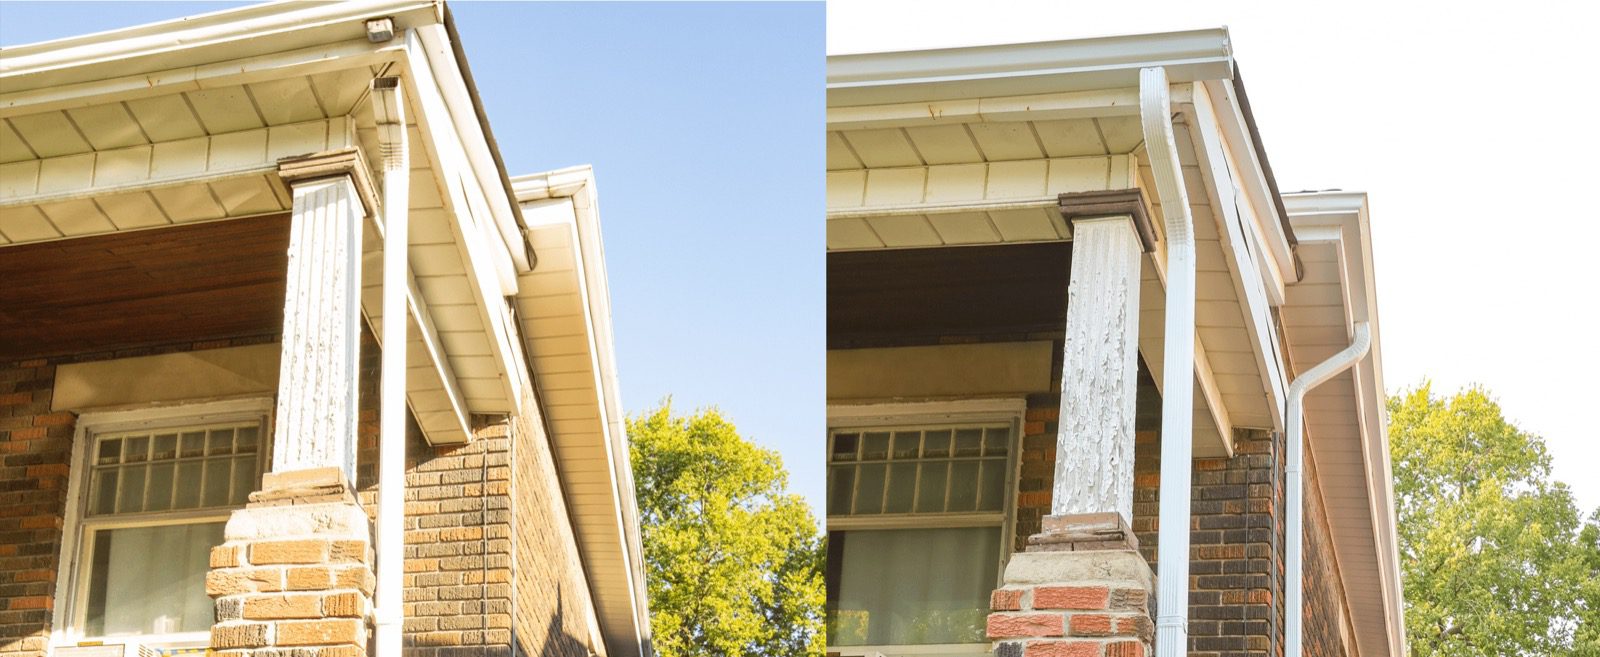
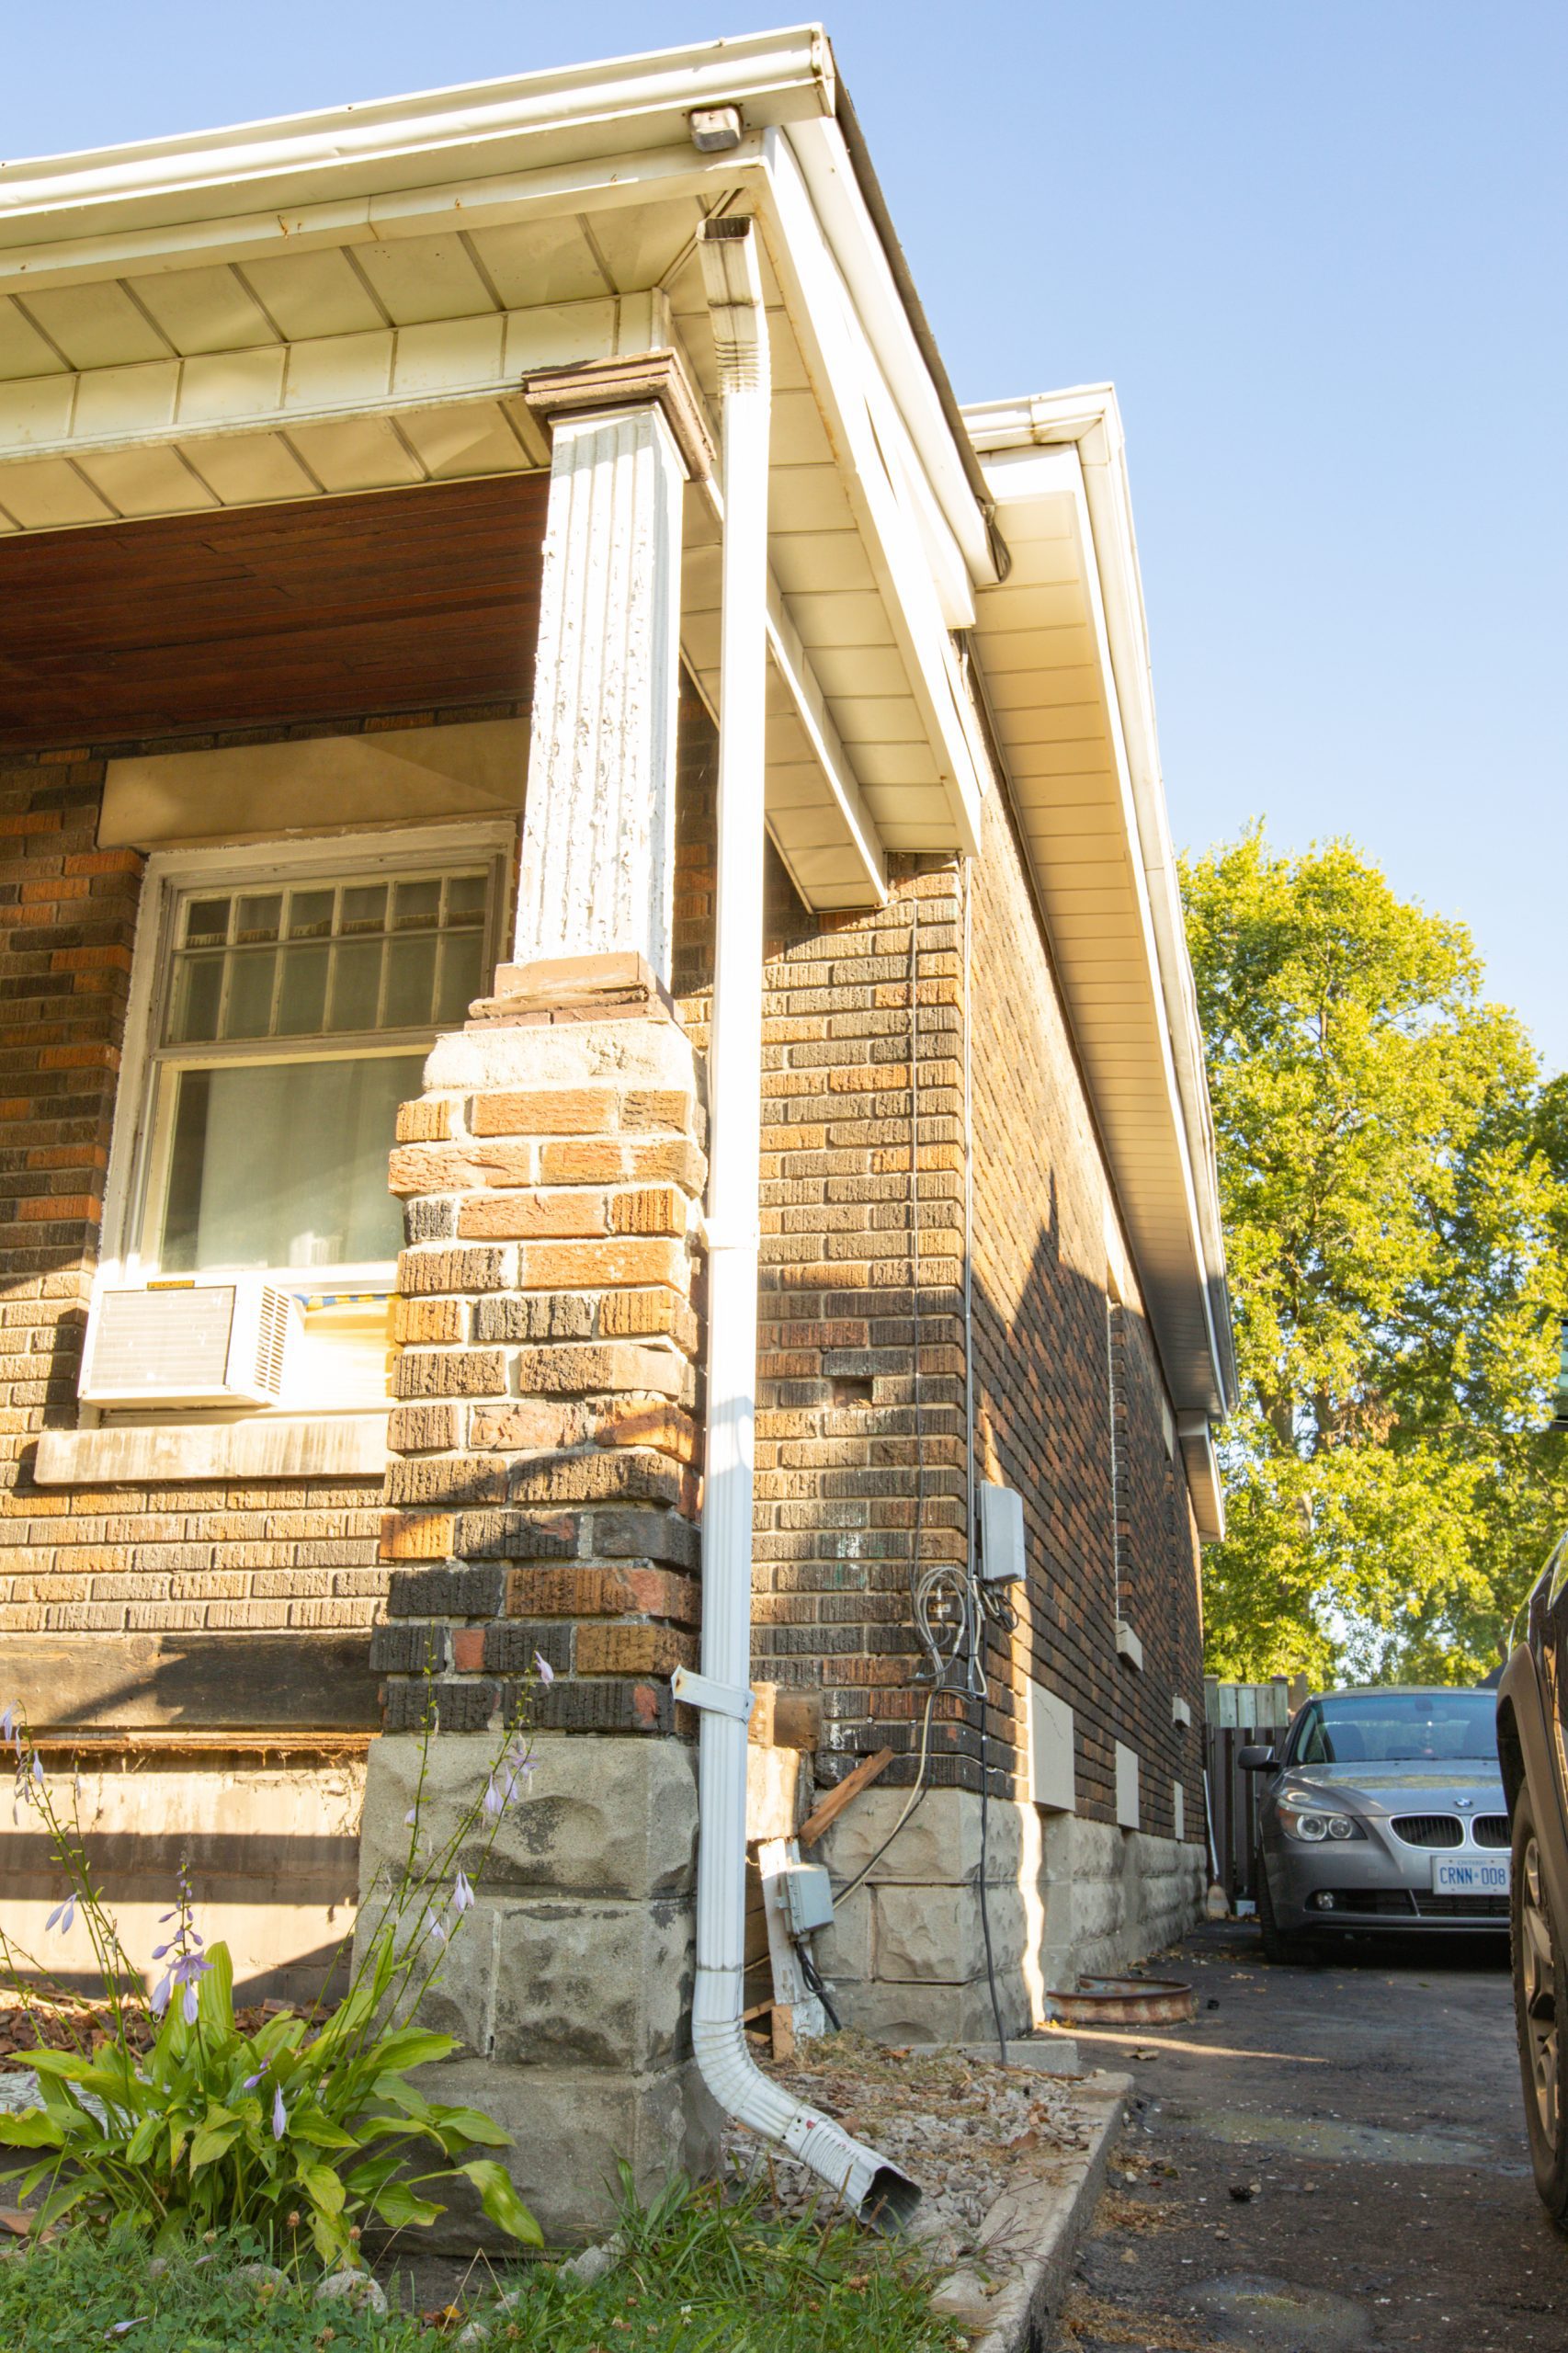
  • 4” eavestroughs and 2×3” downspout undersized and in very rough condition
  • Heavy ice buildup and poor maintenance created damage resulting in leaking sections and incorrect sloping
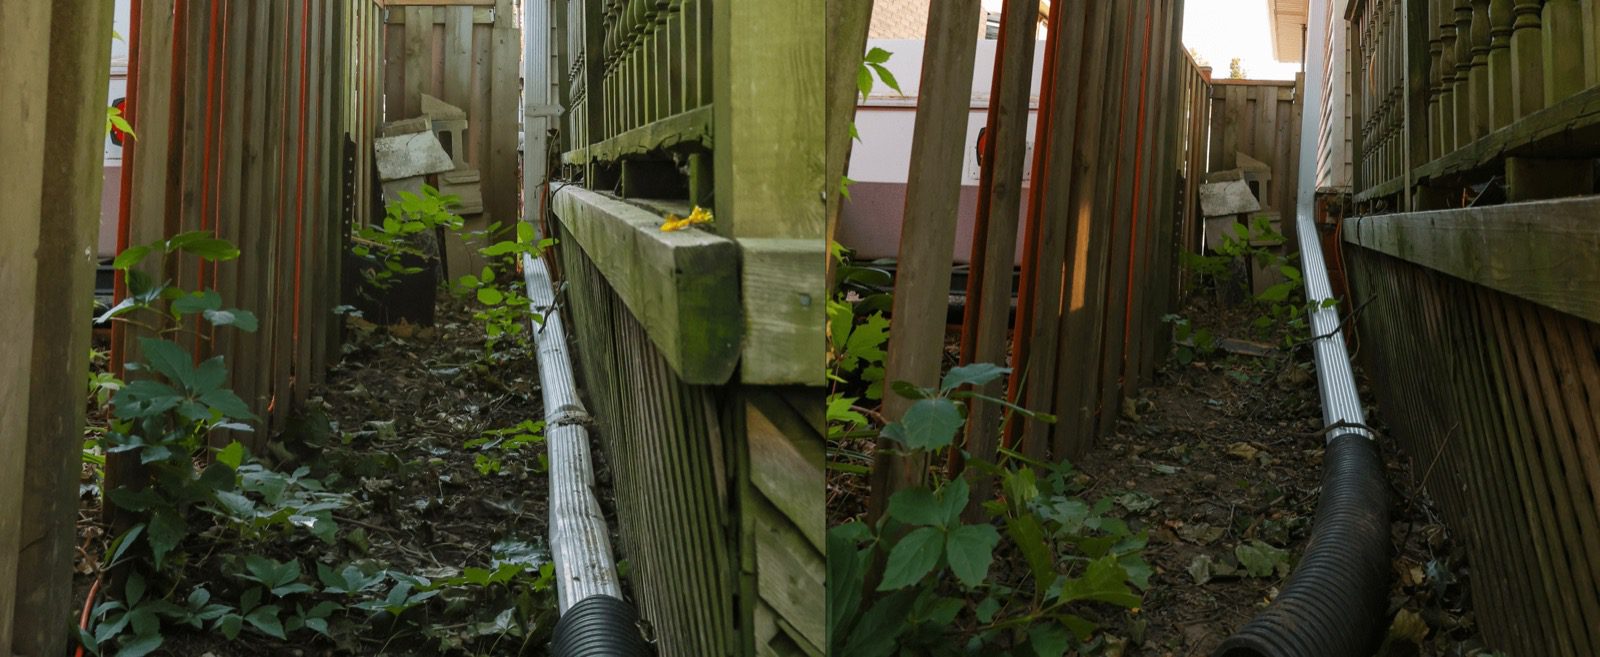
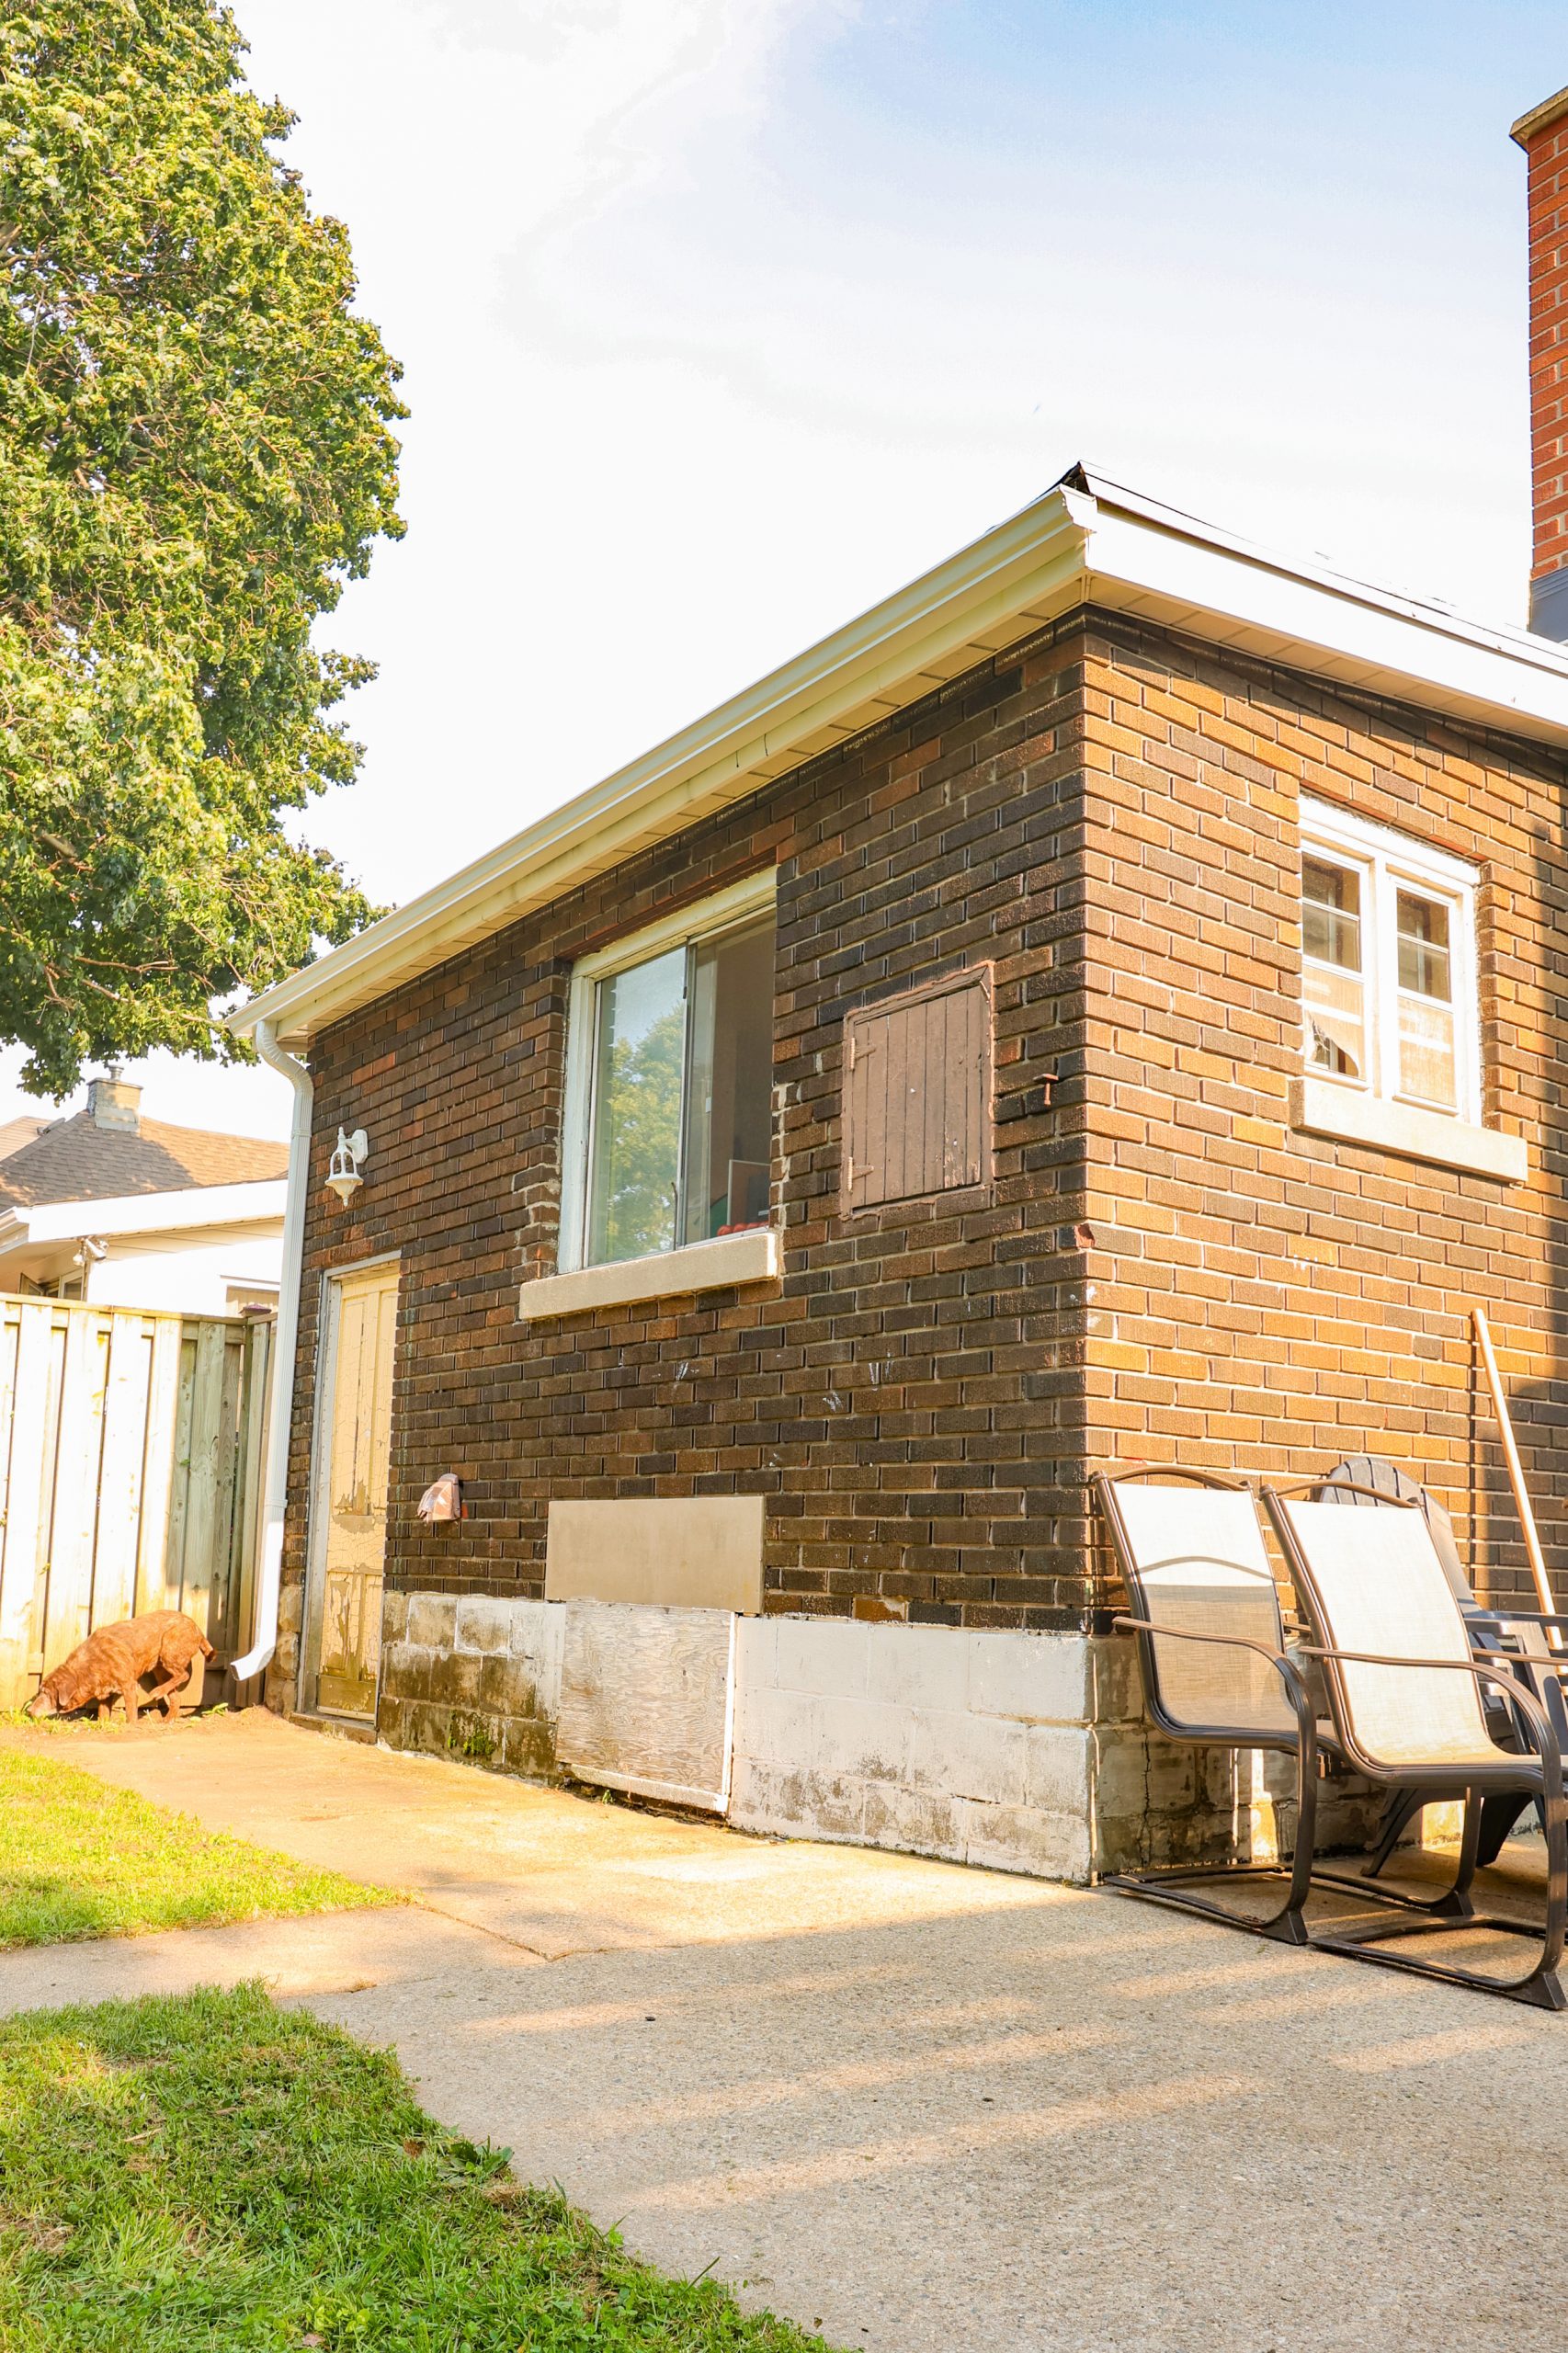
  • Leaf buildup, debris, and even several bird nests accumulated each year resulting in severe clogs unable to drain the water.
  • Clogs created ice buildup resulting in interior damage from a preventable basement flood.
  • Homeowner concerned about colour matching with existing fascia and window capping
Before eavestrough update After eavestrough update

THE SOLUTION:

Our team installed a new, larger 5″ seamless aluminum eavestrough system with larger 3″ downspouts to allow the water to drain more efficiently to the ground level. We installed 3-4″ extensions to kick water out and away from the foundation.

Because of our recommendation to install a leaf guard, we eliminated the requirement of yearly eavestrough cleaning and extended the warranty of new eavestrough system to 25 years. This will significantly reduce the challenges previously experienced by the homeowner.

Aluminum manufactures placed the customer’s specific colour of aluminum on hold unable to fill orders during the pandemic. But because we purchased gutter coils in bulk, we had the necessary material in our inventory to accommodate colour matching despite supply shortages.

IMPLEMENTATION:

To begin the project, we removed the existing eavestrough and downspout drainage system. We conducted a thorough ground clean-up and cut sections down to manageable lengths. Then we loaded the scrap metal into our truck, strapped it down and delivered it to the scrap yard for recycling.

We extruded new eavestrough sections to custom lengths in our 5” gutter machine. Installers attached them to the building, optimizing the slope of each section to allow water to drain out to designated areas where we planned downspouts to be installed.

We cut and professionally sealed the mitred corners with gutter sealant. Then we cut the downspout outlets into the eavestrough sections. Next, we installed the downspouts in the designated areas agreed upon with the homeowner for the most optimal drainage possible.

After sealing all downspout outlets and end caps, we installed the aluminum leaf guard by securely attaching each section to the top of the eavestrough as well as the fascia board with ⅝” self-tapping screws

The homeowner wrote a fantastic review on the Trusted Pros and Better Business Bureau platforms with a 5-star rating. So pleased with our work, he referred us to his next-door neighbour. We replaced the neighbour’s eavestrough and downspout drainage system the following week.

before
after

Do you want to see more projects?

Return to Gallery

Do you have a project of your own?

Request a Free Quote

Leave a Reply